


- Cook time:
- Prep time:
- Yields: Makes around 20 medium sized squares
Ingredients
- 1/2 cup All Purpose Flour (Maida),
- 1 cup Sugar, see Tips
- 3/4 cup Water
- 1/4 cup Homemade Ghee plus extra for greasing
- 1-2 tbsp sliced Almonds (optional), or see Tips
- 1-2 drops of Food Color (optional), see Tips
Tips
1. Evaporated Cane Juice: This recipe has been made using Evaporated Cane Juice to keep it vegetarian and a little less refined. The blonde colored sugar provides additional color to the burfi hence even without added food color, this recipe will not make the classic "White" burfi. But you can use regular white sugar instead (as traditionally used).
2. Almonds: You can use a any other nut of your choice or even a mix; think sliced pistas/cashews etc. But for those with Nuts Allergy, can skip it completely as well. If possible, try to use unpasteurized Almonds.I get mine from our Farmer's market and they make a big difference in taste/flavor.
3. Food Color: The color is totally optional. Usually home made versions are mostly white while the store bought version use colors. It's your choice. I use a brand which makes use of vegetable colorants without use of synthetic ones.
Method
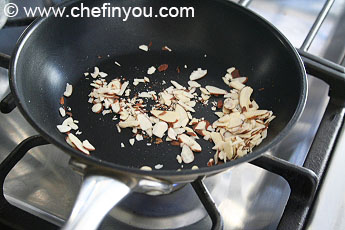
1. Toast the nuts (if using) in medium heat. Here we dry roast it, but you can use some ghee if you like. Set aside.
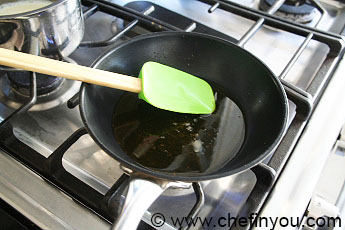
2. In the same pan, add the ghee and heat it until hot. You know it's ready when adding a pinch of flour causes it to fry immediately.
3. Lower the heat and then add the sifted all purpose flour to it
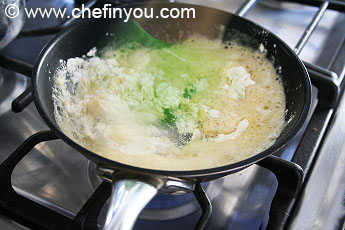
4. and keep roasting it for few minutes until the aroma hits.
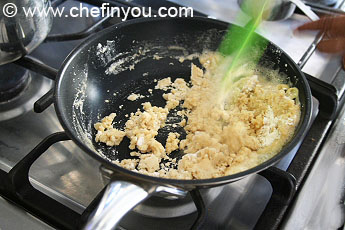
5. The texture will be thick, will be smooth and yet will clump together without sticking too much to the bottom. The heat should be low, to make sure it doesnt change color or get burnt. Set aside.
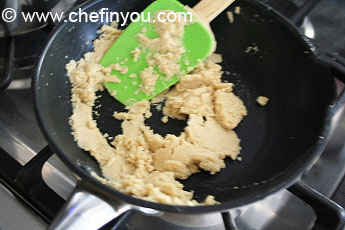
6. In another pan, add the water and sugar together
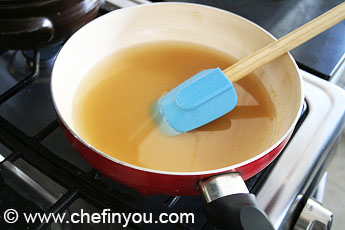
7. and let it come to a boil.
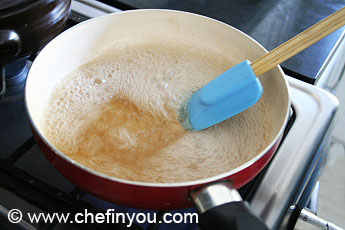
8. You want to cook it until an one-string consistency is reached wherein a thin long string is formed up to 1- 2 inches when tested in between thumb and fore finger. The temperature should be around 220-230F.
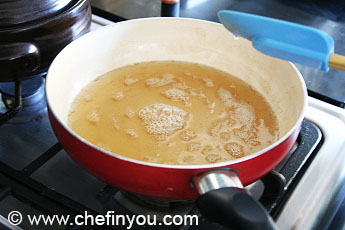
9. At this stage add coloring if desired. Lower the heat and add the flour mixture to it.
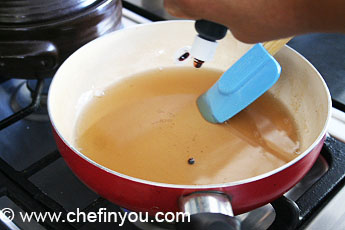
10. Mix it until well combined. If you live in a warm region, then you can switch off the flame and keep mixing until the mixture thickens. But in cooler/colder places, I find cooking it further in the stove (in low heat) helps to thicken it fast .

11. You know its ready when the mixture isn't very easy to stir like before and has a slightly pourable yet thick consistency. You can further check the readiness by dropping a bit on the counter top. Let it sit for few seconds to find that it sets instead of being malleable like a halwa. Once ready, pour this to a greased pan of your choice.
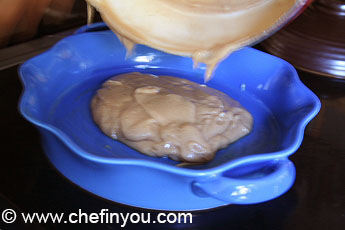
12. Spread uniformly and add the nuts on top. Press it slightly and let it sit for few minutes.
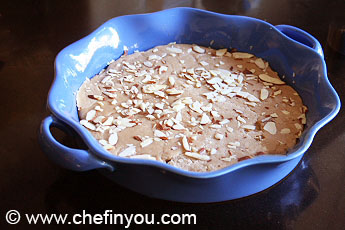
13. When almost set, make cuts of any shape of your choice and let it further cool down completely.
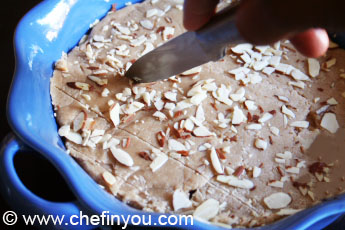
Remove them and store in airtight container. I can assure you that they won't stay long that way and will get over in a jiffy:)

No comments:
Post a Comment